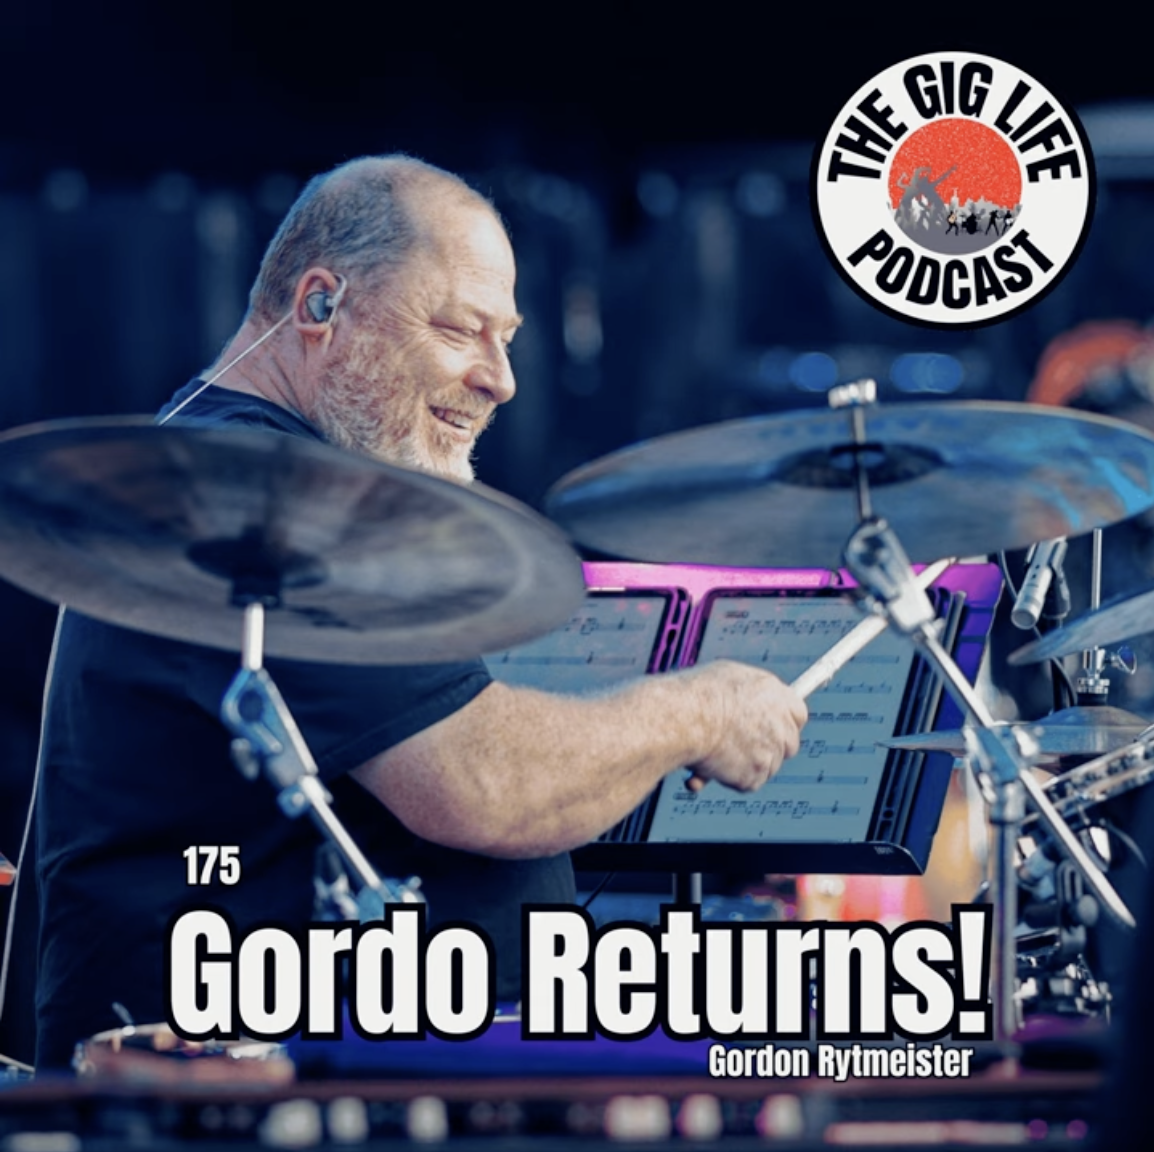
George Butrumlis’ home studio. Werribee, January 9, 2025.
Equipment for the session
DW Collectors Series (maple/mahogany) – 18 x 14” BD with factory-option Audix D6 mounted internally on rail (no front port), 8 x 12” tom, 14 x 14” tom.
Pearl Steve Ferrone Model NOB Snare drum 14 x 6.5”.
Zildjian 14” New Beat HH, 16” Sweet Crash, 20” K Constantinople Bounce Ride (with sizzle chain), 10” A Splash
Link to pic of Audix internal mic and mount – https://au.pinterest.com/pin/534028468355437528/
Two-microphone recording
With the digital processing and sample-triggering available in studios, engineers often find themselves compensating for a poor-sounding drum kit in the mixing stage. But when recording with just a couple of mics, there isn’t anywhere to hide! Thus, the relationship between the drummer and the sound of the drums themselves is even more important than usual – the engineer must find a way of working that involves listening to how the kit is being captured, and then manipulating the instrument and mics to sound good with whatever material you’re working on. Not to mention being aware of the stylistic intention of the song.
So, priorities here are drum tuning, damping and curating the acoustic space.
[Something else to consider is – the drummer must be experienced at balancing the components of a drum kit themselves, as they play. Unless it’s an experienced player who already does this, it can be a challenge to get a drummer not to hit the cymbals or hi hats too hard, and consistently hit the toms on fills.]
“Twice Round The Moon” album – Recording day run-down.

After setting up in George’s studio ( a room, set up for recording, located in his house, with his control room a few rooms away), we proceeded to sound check, and quickly arrived at a satisfactory result, having recorded a few groove bars so both of us could listen back and suggest tweaks.
George, in keeping with the Glyn Johns ‘two-mic’ technique described below, carefully measured the (equal) distance of the mics from the snare drum. As seen in the above photo, he placed two Rode NT1000 mics, one above the kit and one to the drummer’s right side.
For more sound options he added close mics on the snare and both toms (Beyer M201 Dynamic Hyper-Cardioid), and the internal Audix kick drum mic as listed above. He supplemented this with a CAD mic positioned in front of the kick drum. Thus he could pick and choose whatever combination worked for each song. Most of what you hear on the album is from the two Rode mics and the internal kick mic.
I checked the tom tuning by hitting them, in the space, to see if any modifications were necessary. Sometimes one hears a dominating overtone in the space which might need a half turn of the tuning lugs, or a little damping. Or sometimes there’s too much sympathetic snare buzz, and with this ‘folk’ style acoustic recording I was mindful of this. George and I discussed whether he was comfortable with the amount of resonance/sustain, as well as what type of kick beater he preferred (we both agreed to choose felt for this session). As can be seen in the above photo, I used a Moongel on each drum to dry the sound a little.
No click tracks were needed.
I alternated between brushes, sticks and rods, depending on what songwriter Frank Jones preferred on each song. I also played congas on one track (no.10, The Goldfish Song).
My headphone mix had an equal amount of Frank’s guitar and voice, Tamara Murphy’s double bass, and a small amount of drums. I usually keep one headphone cup slightly off my ear, in order to hear my drums acoustically; especially when using brushes.
Tamara set up her double bass a couple of metres away in the same room. Naturally, this close location meant that we had to avoid overdubbing our parts due to the likelihood of spill from the drum kit and bass.
Frank, the singer/composer, played guitar and sang with us, from behind a glass sliding door, for separation. This was extremely important for visual guidance at times. Frank had previously furnished us with some demo’s of himself and his guitar; on the session we workshopped each track to determine the final arrangements as we went along. I have performed and recorded with Frank before, as part of The Whirling Furphies (I joined in 1995). So we have a pretty good understanding of where his songs might be heading. He always takes great care to craft his lyrics too, so being aware of those helps me determine my musical and gear choices.
We also knew there would be additional instruments overdubbed later, so we left some space as appropriate. Experience tells us that playing simpler in the studio is generally a better decision anyway.
It seems there is often a surprise factor in performance situations: on this session we were recording on a hot summer’s day. The room had a freestanding air conditioner next to me, which I had to switch off before each take, as it was too noisy to leave on! It got pretty hot as we ran a few takes, but I had to stay focused! I guess in hindsight that might have encouraged me to achieve a good take in a few attempts as possible. Generally we got the one we were looking for within the first two or three attempts.
The first track, “Bullet Train”. pretty much pointed me toward a slightly swung brushes style ‘train’ feel. I added a hi hat jingle ring on beats 2 and 4. I urge the reader to pay something for listening; Frank spent a lot of creative effort, time and money on producing this self-funded recording.
https://frankjones1.bandcamp.com/album/twice-round-the-moon

If you like what you hear, have a listen to the variety of sounds and styles across the other songs on the album, on the Bandcamp site.
We did an album launch in Melbourne at the Brunswick Ballroom in May 2025, and the feedback from the capacity crowd was excellent. It’s satisfying, too, when you can successfully perform the songs live without losing the essence of what was recorded.
Hope you enjoyed the peek into this session. Read on if you want to know more detail about the two-mic techniques.
Detailed Overview/Summary of the Two-Mic Recording Techniques (Courtesy of soundonsound.com )
Glyn Johns
Engineer/producer Glyn Johns reportedly stumbled upon this one by accident in the studio and then used it to great effect throughout his career, engineering for iconic songs by the Rolling Stones, Led Zeppelin and the Eagles, to name but a few.
Even tough it’s a quick and simple technique that can work well on its own, but it can also be augmented easily with a few close mics if needed – as George did on the above session.
It employs a pair of large-diaphragm cardioid capacitor mics, with one positioned directly above the snare drum at a height of around 5-6 feet. The second mic is positioned lower down, looking across the floor tom towards the snare. Key to the technique is making sure that the two mics are close to being equidistant from the middle of the snare — this ensures sounds from the snare arrive at both mics at the same time.
Glyn Johns also explained in a recent demonstration of his technique that he liked to drive the preamp stage of certain analogue consoles that he worked on to get this technique working optimally.
It gives a very solid snare sound and a surprisingly balanced picture of the whole kit. It can take a bit of fine-tuning to make the snare sit firmly in the centre; typically you’d pan the centre mic slightly to one side and the lower mic a bit wider. You hear a great sense of stereo movement when a drummer goes around the toms, and there’s plenty of bottom end from the kick drum.
Other alternatives include –
Recorderman
The Recorderman technique is broadly similar to the Glyn Johns method, in that it begins with a single cardioid mic above the snare drum pointing down at that drum, though it’s somewhat lower in height — a touch higher than the length of two drum sticks above the snare is a good starting point. The second mic, again a cardioid, is positioned above the drummer’s right shoulder (player perspective) and pointing down slightly, so that it is ‘looking’ at where the beater hits the kick drum. My understanding is that this technique was initially developed using ribbon mics but l’ve found that it works well using capacitor mics too. The key to a successful result is measuring: the centres of the kick and of the snare drum must be the same distance from both microphones. This can be a bit tricky, but it is possible.
If I were in a ‘real’ session l’d probably use a close kick mic too, but I’ve been very impressed by how complete the sound is that comes from just the two microphones. In my recent experiments, the snare had a solid, full sound and the kick sounded nicely focused. The tom positioning was also impressive when sitting between the speakers; it can seem more natural than the Glyn Johns technique in this respect.
That said, I prefer the sense of cymbal spread delivered by the Glyn Johns method. Some people like to hard pan the two mics but I found myself liking them evenly spread at around 50 percent. Even if you do prefer to hard-pan the mics, though, the snare still feels nicely centred in the stereo image. It’s also easy to use close mics to augment the Recorderman setup, which could provide a great option for an overhead pair.
Eric Valentine
It’s not known if this mono technique officially belongs to producer/musician Eric Valentine, but t’s a simple concept from a recording engineer’s point of view; although it does take a disciplined drummer and some additional mixing tricks to really make it sing.
Eric Valentine’s mono setup uses a hypercardioid Beyerdynamic M160 ribbon mic capturing most of the kit, and another mic in a corner of the room reinforcing the low end.
The majority or the sound comes from the Beyerdynamic M160 hypercardioid ribbon mic positioned in front of the kit, pointing at a slight angle towards the snare drum. The second mic is used purely to reinforce the low frequencies, ensuring there’s enough power from the kick drum. This cardioid mic should be set back from the kit, in an area of the room that captures the low-end nicely — a corner of the room, for example. This channel is then low-pass filtered at around 100Hz. When this signal is combined with the main mic, you should notice enhanced low frequencies from the kick.
If the drummer doesn’t hit the cymbals too hard and you apply a little judicious EQ and compression, you can get wonderful results. Interestingly, it can be tricky to augment this technique with close spot mics on the kick or snare; they seem very difficult to integrate.
Mono
It revolves around a single cardioid mic looking down at the kit, but this time central to the whole kit rather than being focused on the snare. It’s a quick way of filling out the tom sound. Position a figure-8 ribbon mic between the two toms, with one side of the mic focused on each drum. Together, these two mics capture a very usable mono image of the kit. You have to listen carefully when tweaking the position of the overhead mic, but you can get a very respectable drum sound that can hold its own in a busy track. You should get plenty of ‘weight’ from the tom mic and, again, it’s an ‘overhead’ technique that could work well as part of a bigger drum recording setup. One word of caution: there’s a decent chance of your mics getting a whack from a stray drum stick!
Daptone
This final technique was discussed in SOS several years ago (https://sosm.ag/daptone). That article describes how Daptone Records engineer Gabriel Roth takes a very minimal approach to recording drums. It typically involves just one mic (but sometimes two, positioned low down, pointing towards the kick and snare drum. Roth also described how working with minimal microphones encourages the musicians to create the necessary sound and balance for their instrument, which is the key to getting this whole concept to work.
Experiment with a few different mics – for example, a combination of a ribbon mic and a Shure SM7 cardioid moving-coil dynamic, positioned closely together and pointing towards the lower part of the snare drum.
It gives a very different perspective of the kit than the other techniques. The kick drum sounds full and punchy, thanks to the ribbon mic, and the dynamic delivers a crisp top end from the snare, capturing lots of the snare wire sound.
This technique sometimes captures a fair bit of sympathetic ringing from toms; the floor tom and ride cymbal may need to be played a little louder to get the whole thing to feel nicely balanced. That’s the key to success: putting plenty of the drum sound in the drummer’s headphones, so that they can tailor their playing accordingly!
Minimal drum recording won’t suit every genre, especially dense, modern production styles in which the kick and snare need to be ‘larger than life’. It’s also relatively cheap and easy to have a number of recording channels at your disposal these days. For those styles where minimal miking is an option, it’s possible to get great-sounding results quickly – you spend less time setting up the mics, waste less of the drummer’s energy checking the levels in a million mics, and fewer mics means fewer phase relationships to contend with, so the results often sound really punchy. Secondly, even if you work in genres where you’re unlikely ever to record drums like this, it’s still a great learning exercise in understanding how to manipulate a complex acoustic instrument; the experience will help you get better results however you like to record your drums.
.
‘Dressing’ The Drums
Without close mics for reinforcement, resonances can become harder to handle in the mix. So it’s helpful to keep a selection of devices handy for damping heads or shells where desirable.
If you get into this minimalist style of drum recording you’ll probably find yourself paying closer attention to the sound of the kit in the room, and to the tuning and resonances of the individual drums.
For a detailed walkthrough of the basics of drum tuning and damping, check out Matt Seymour’s article in SOS August 2010: https://sosm.ag/drum-tuning.
Many drummers find toms slightly more challenging to tune than the rest of the kit; you can get close fairly easily by working out what part of the top drum head is closest to the sound in your head and then trying to make the tension even at every lug. You then just have to decide if the resonant head sounds better a little lower or higher than the beater head, following the same technique of making the lugs even.
When your miking options are limited, you’ll notice the natural resonances of a drum kit much more and want to exert some control over them. It’s good to keep handy a selection of damping tools, like Moongel or leather strips. Heavy weights can be used to reduce the ringing of the floor tom or kick drums, either by hanging them from the side or placing them on top of the kick drum (obviously with some packing blankets to protect the drum shell).
Many engineers typically record drums using several mics, with close mics on every drum, overheads, room and a few ‘character’ options. While this approach can work very well, it’s not always helpful. For one thing, having all those options to play with can lead you down a certain path when it comes to mixing; you can spend ages working to construct a punchy, full drum sound only then to spend more time employing plug‑ins to make it all sound more lo‑fi or retro! It obviously takes more time to rig and position so many mics. There’s also a risk that the complexity of such setups encourages the engineer to focus on the tools and the processing at the expense of the sound of the kit and the feel of the performance.
You can hear some sound examples of the above techniques – follow this link:
https://www.soundonsound.com/techniques/recording-drum-kits-only-two-mics